Weavebird cable tension adjustment
(Instruction and video)
|
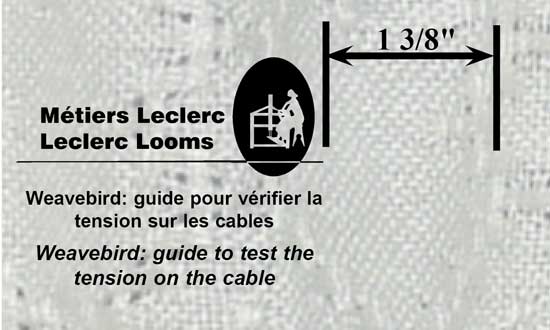
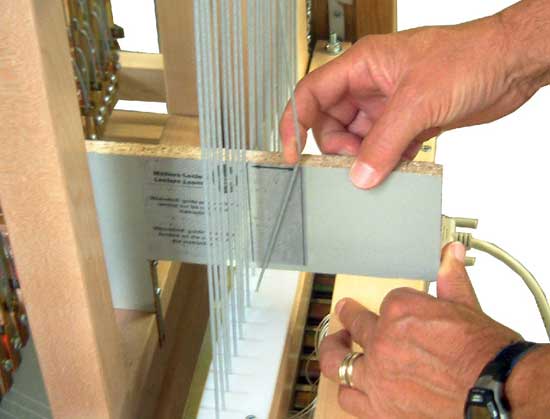
This is the most important adjustment of this loom. If you have the correct tension on the cables, you will prevent your loom from jamming. The cable tension has been tested and adjusted at the factory before shipping, but should be checked after your new Weavebird us assembled to ensure the tension is still correct. Disassembling the loom at the factory, transporting it and re-assembling it may have affected the tension on some cables. If the tension is too high, the plungers of the solenoids will not push or will only push half way, while a low tension will cause jams or weaving errors. The left line is for the cable unstretched. The ideal tension is a stretch (using medium to hard
force) of 1 3/8" It is important to stretch with your finger at the top of the board only. NOTE: The weight guide WG must be in place when taking the tension measurement. Write down the modification requires for each cable
prior to removing the weight guide.
|
|
|
|
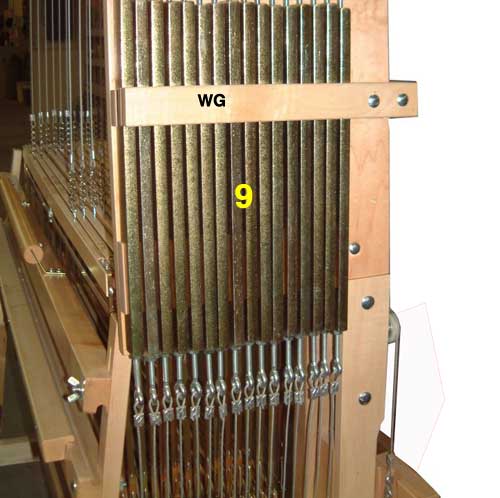
To change the tension on a cable; Remove the weight guide (WG) of the metal weight (9) Loosen the hexagonal nuts top and bottom and turn the weight piece. Turning clockwise will increase the tension on a
cable.
|
|
See this video: |
|